Completing an Upload task
In brief
Completing an Upload task requires you to upload files to Exaprojects from your computer. As part of the upload requirements, you may also need to rename your file in accordance with a file naming convention as well as provide other metadata such as attributes and tags.
Required permissions
Can view their own tasks
Uploading a file#
To complete your Upload task, please navigate to Tasks and find the relevant task. Note, you can complete Upload tasks from both the 'List view' and the 'Table view'.
Alternatively, if you've clicked the link in your task assignment email, you should be taken directly to the task.
List view#
Once you've loaded the task, you should clearly see the blue 'Upload' files button in the 'Actions' panel.
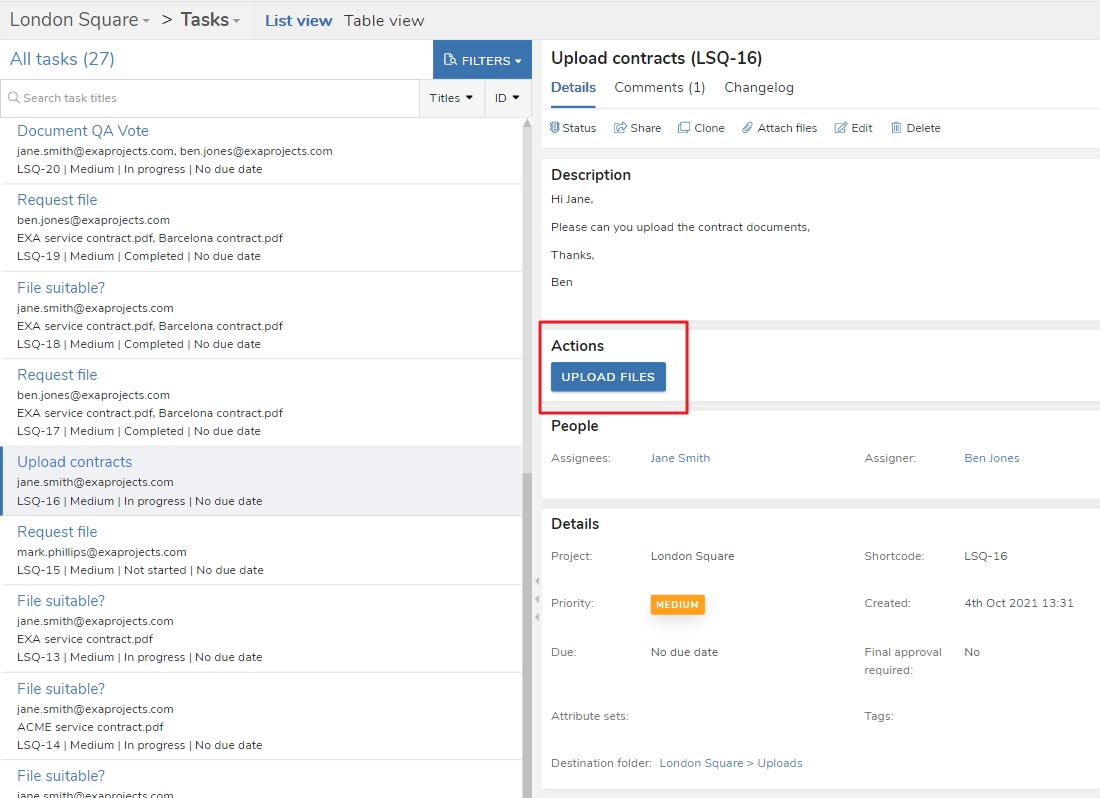
If you click that, that will open the 'Upload Files' window.
Alternatively, you can drag and drop files directly from your computer onto the Upload task which will load the file into the 'Upload Files' window.
Table view#
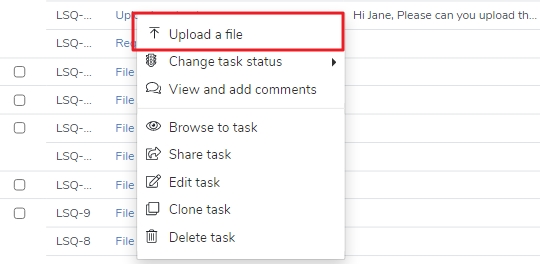
In the table, locate your Upload task and click the task name in the 'Title' column, or right click anywhere on the row. A menu will appear in which the top option will be 'Upload a file'. If you click that, it will open the 'Upload Files' window.
Workflow tab & workflow overview#
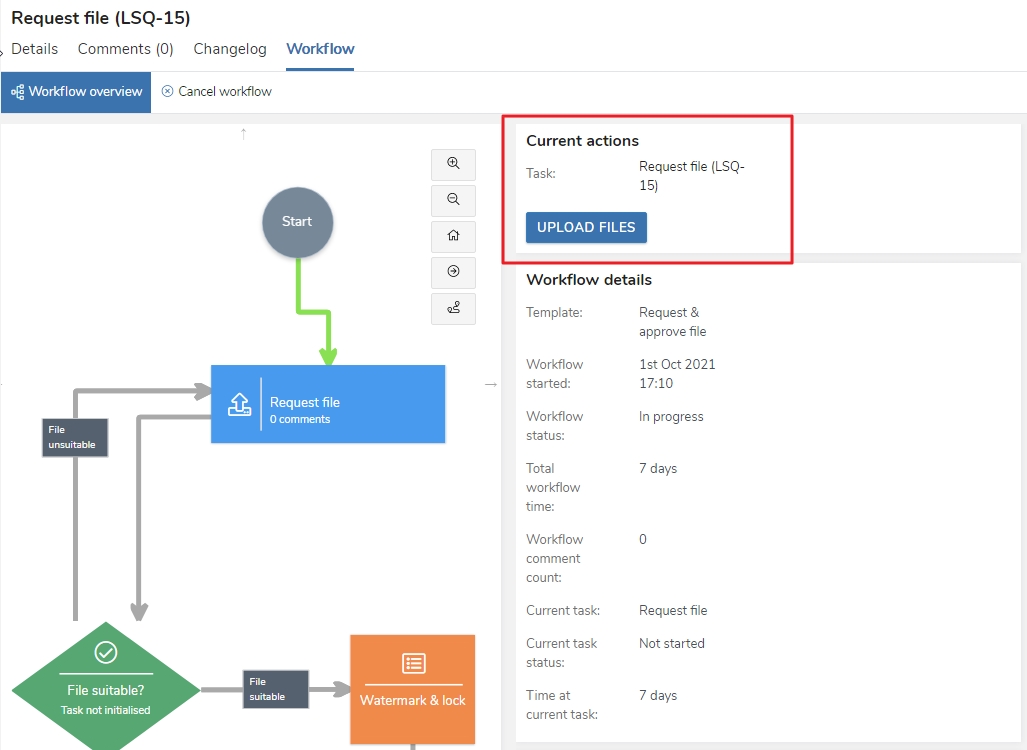
You can upload files to the Upload task from the 'Workflow tab' and the 'Workflow overview' window by clicking the 'Upload files' button in the 'Current actions' panel.
Using the Upload Files window#
Adding files#
To add files to the 'Upload Files' window, you can click the blue 'Add Files' button and select files from your computer. Note that you can select and upload multiple files at once.
You can also drag and drop files directly onto the upload window. Furthermore, to save individually selecting an entire folder's worth of files, you can upload the folder itself using the 'Or select a folder' link beneath the 'Add files' button. Be aware that this will not add any files nested in subfolders - only the files directly beneath the folder you select will be uploaded.
Required information#
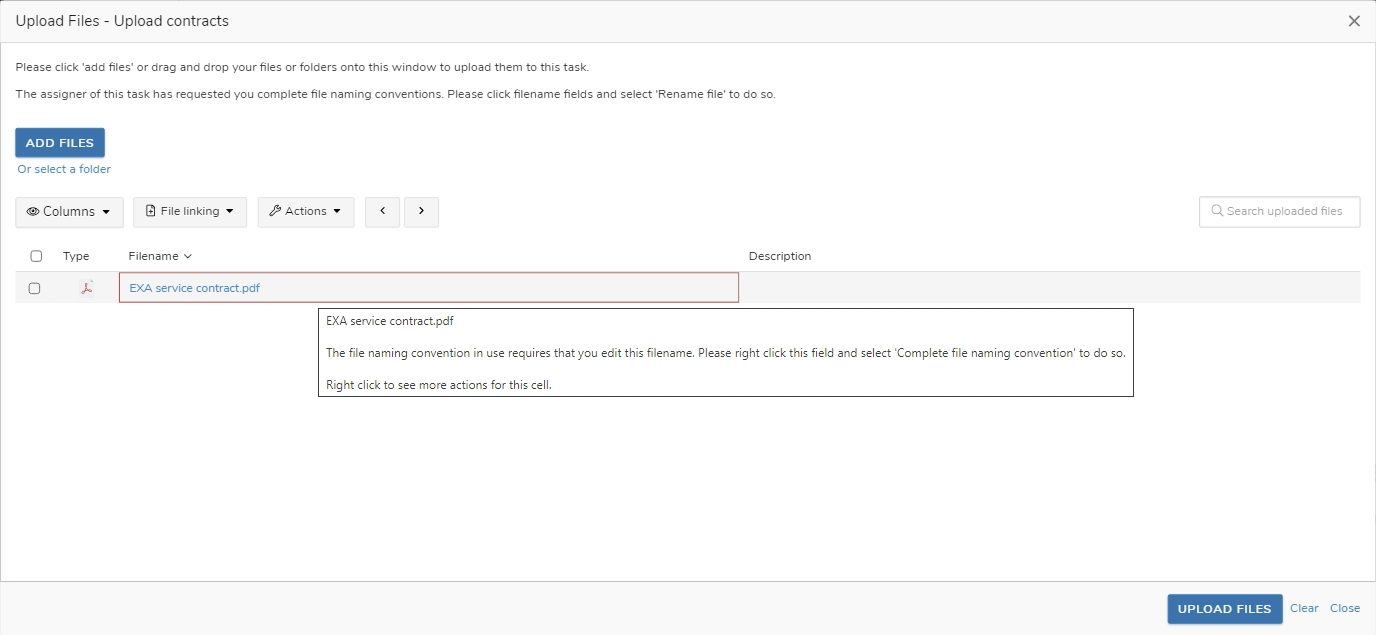
Dependent on how the assigner has configured the Upload task, you may be required to provide additional information when uploading your files. You'll instantly know what is required as any fields in the 'Upload Files' table that require completion will be bordered with a red box. You can then hover over the field for more information. As an example, in the below image, the Upload task requires us to rename our file in accordance with a file naming convention and so the 'Filename' cell is bordered red:
In total, you may be required to:
- Rename the file
- Add a file description
- Add file attributes
- Add file tags
For a full description on how to add these to files in the 'Upload Files' table as well as use its other features, please see this guide.
Submitting your uploads#
When you have finished with your uploaded files, click the 'Upload Files' button in the bottom right of the window. The system will then warn you if you haven't completed a required field. If there are no issues, you will receive the following prompt:
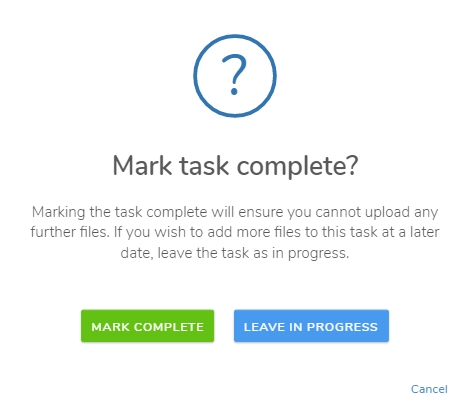
As the text suggests, if you have added all your files and are happy for the task to be completed, click 'Mark Complete'. On the other hand, if you have more files to add at a later date, click 'Leave In Progress'. Be aware that you will not be able to add new files to a task with the status of 'complete', however.
Good to know
One exception to the above is if the assigner has configured the task such that they have to approve your submission before it's marked 'complete'. If this is the case, the task will be given the status of 'awaiting approval' whilst it waits for the assigner to approve it. If a task has this status, you can still upload files to the task.
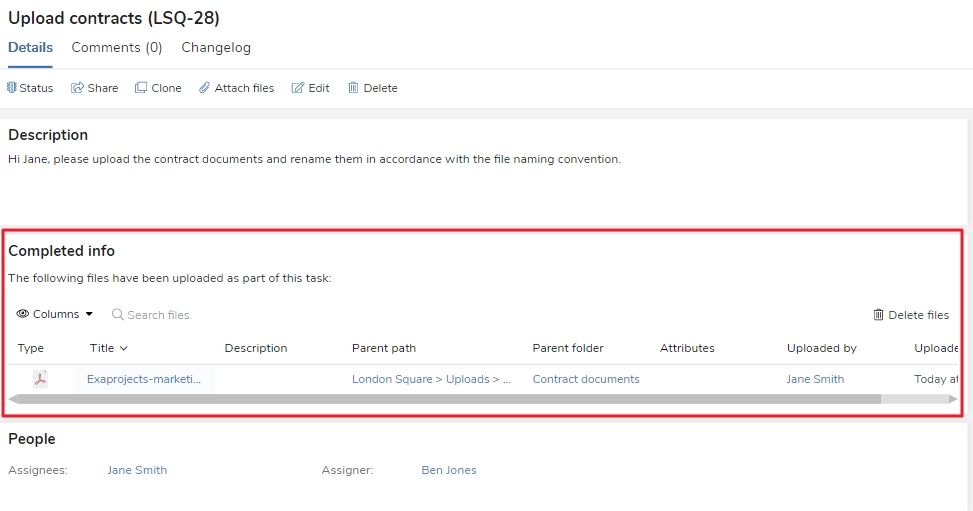
Regardless of your choice, you'll notice the 'Completed info' section of the task then updates with your uploaded file.
Deleting uploaded files#
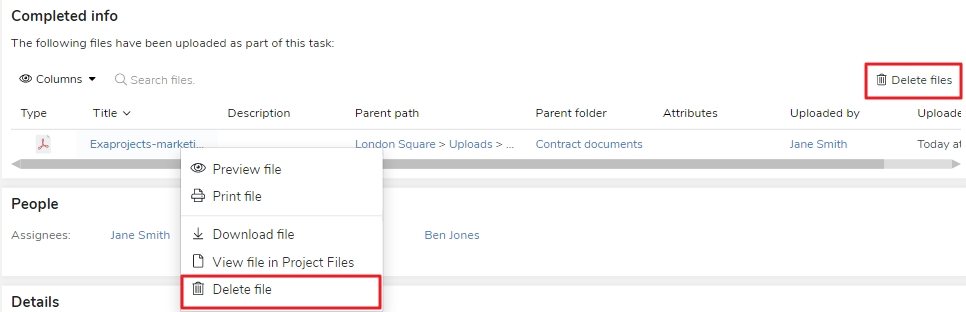
If you are an assignee of an Upload task which doesn't have the status of 'completed' and isn't in a workflow, you are able to delete uploaded files. This is useful if you uploaded an incorrect file to your task, for example.
To delete files, simply click the filename in the 'Title' column, or right click the row. You'll then be presented with a menu from which you can delete the file. Similarly, you can use the 'Delete files' button to delete all of your uploaded files.
If you need to delete a file when the task does have a status of 'complete' or is in a workflow, you'll need to contact the task assigner.